How to create a Google Docs document and convert a URL to a QR code
Google Docs is an incredibly versatile tool for both professional and personal use. It allows you to seamlessly create, edit, share, and store documents online through Google Drive.
Undoubtedly, this file format offers convenience to users in various situations. What’s even more convenient is to use QR technology to add a link to the QR code for seamless access to the desired document and easy distribution. Therefore, it's essential first to familiarize yourself with the Google Docs service and then explore mastering the QR code generator.
Benefits of using Google Docs
Millions of users around the world prefer Google Docs. Here are some benefits of using this service:
 – free cloud storage on Google Drive;
– unrestricted access to files anywhere with an Internet connection;
– simplified collaboration in real time;
– automatic content saving to prevent data loss;
– clear integration with other Google services (for example, Gmail, Google Calendar, and others);
– diverse styles and formatting options for advanced document editing.
It is also worth noting that Google Docs seamlessly integrates with QR technology. Today, creating a QR code has become a valuable skill applicable to anyone. With files accessible via Google Drive links, it is a breeze to generate a QR code for a document.
Moreover, Google Docs is free, providing users with 15 GB of storage space. Thus, Google Docs has become a go-to tool for working on documents, regardless of your goals and field of activity.
Step-by-step guide for creating a Google Doc
So, if you plan to make a QR code for Google Docs Document, first create the document on Google Drive. To do this, follow these steps:
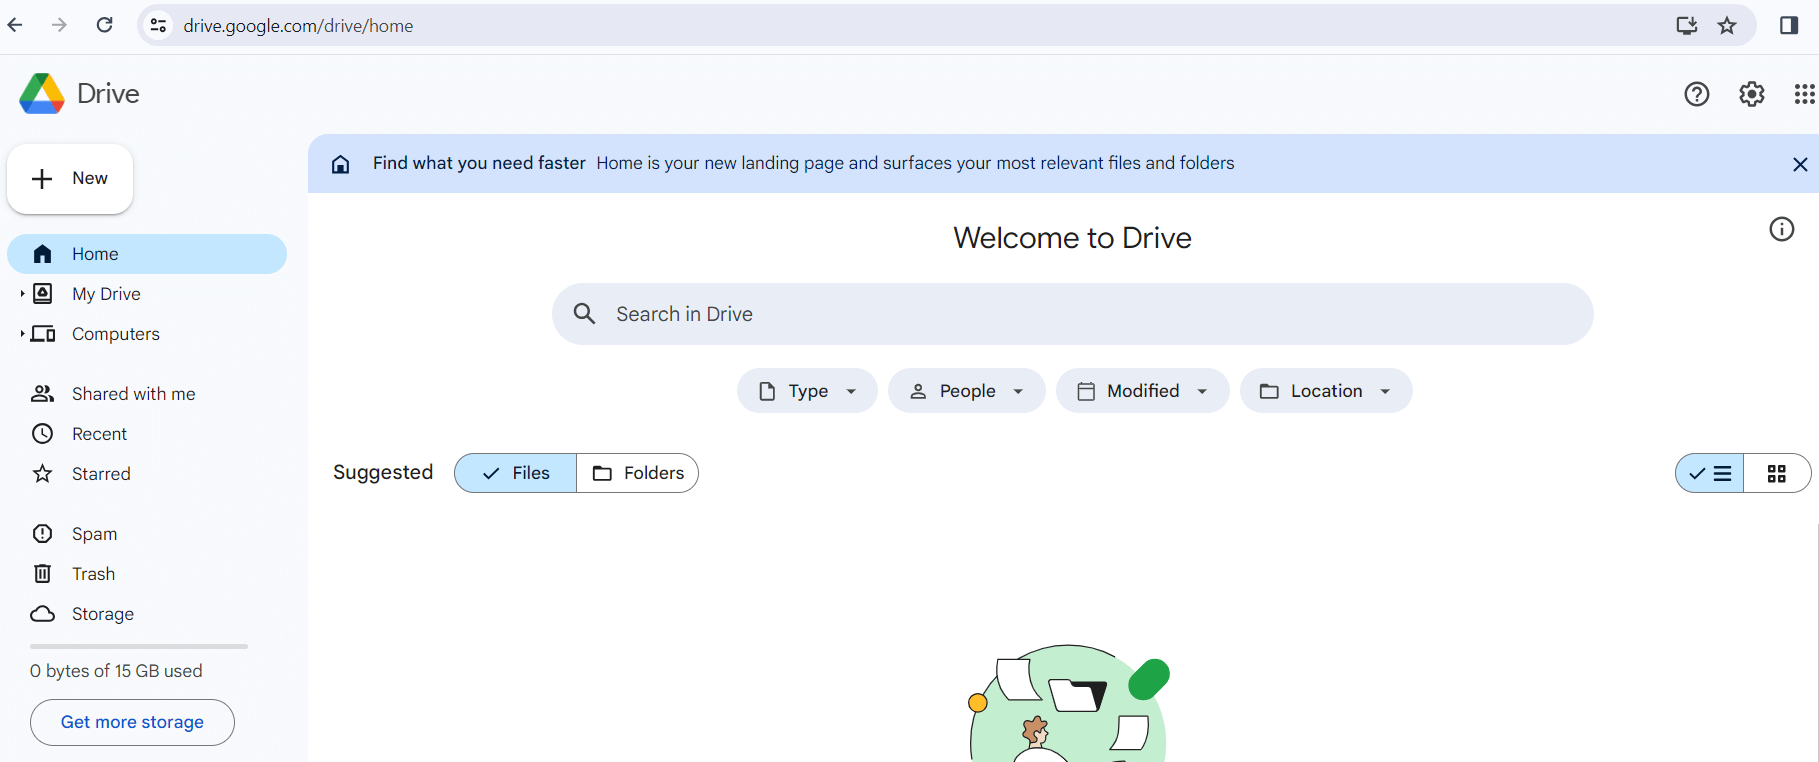
1. Open Google Drive. To do this, go to the Google Drive website (https://drive.google.com) and sign in to your Google account using your Gmail.
2. Create a new document. Click on the '+ New' button in the top left corner of the screen, then select the 'Google Docs' option and use a template or create a new file. If you use a smartphone, the required button will be in the lower right corner.
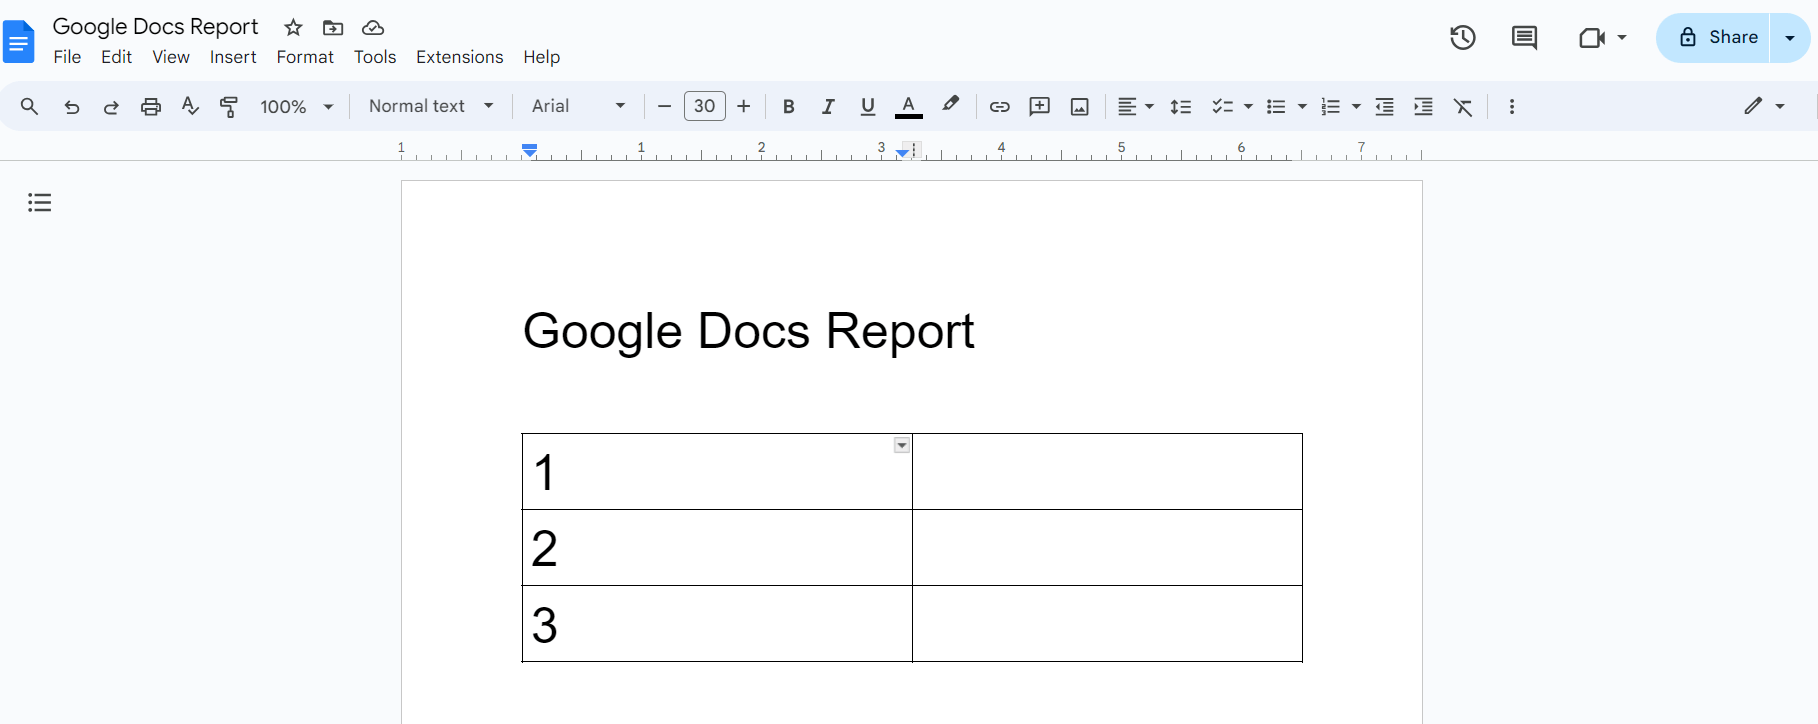
3. Start working on the file. A new Google Docs document will open in your browser or the application on your mobile device. Enter text, format it, add images, insert tables, and other elements.
4. Customize the page (optional). You can change the paper size, orientation, page color, margins, etc.
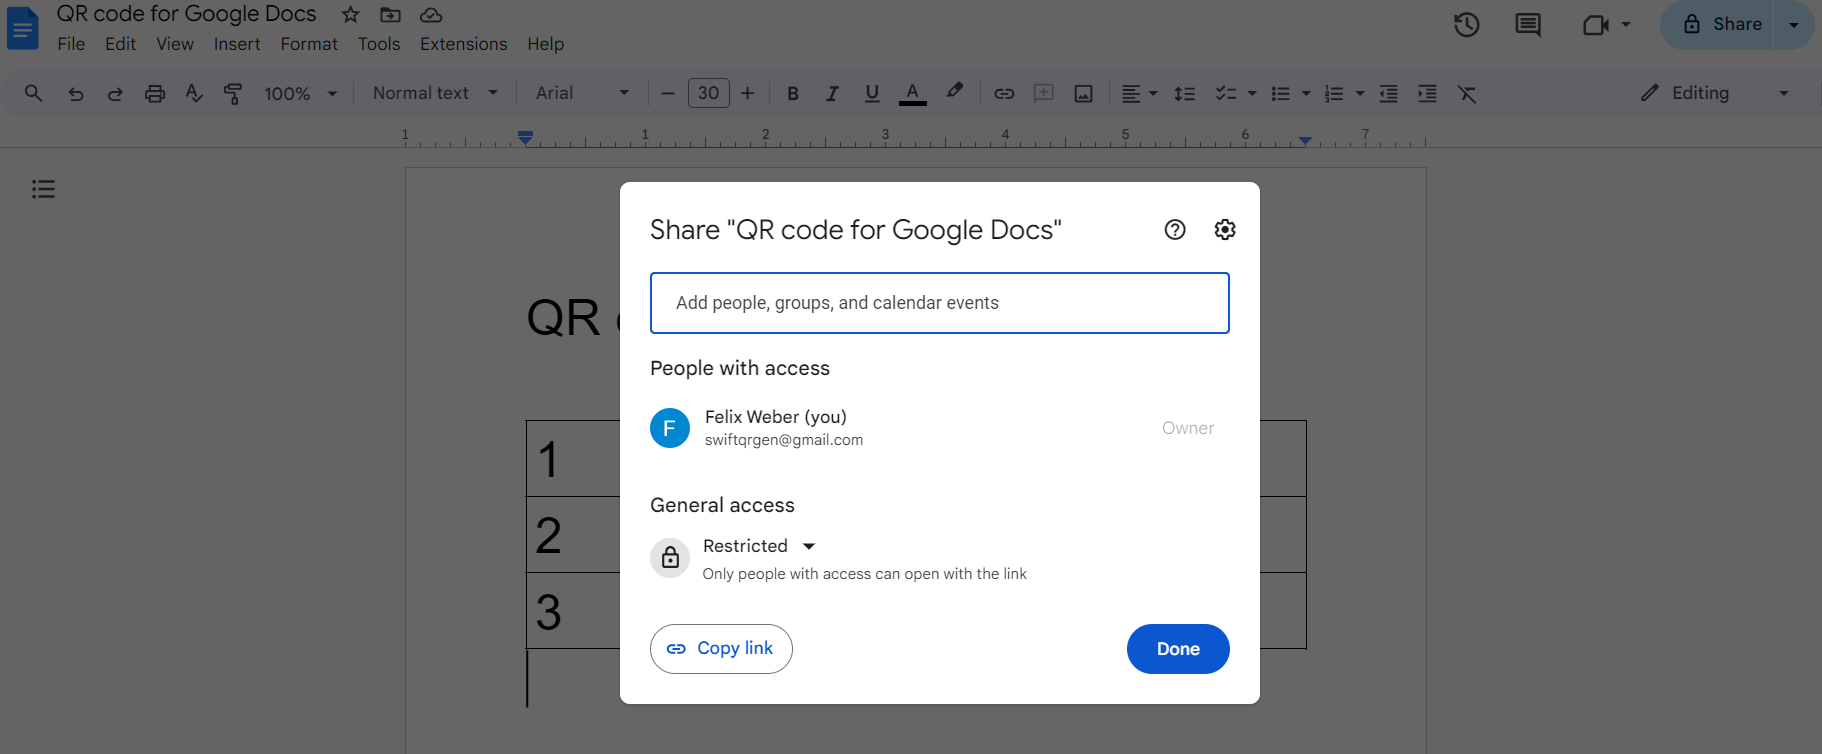
5. Check your access settings. If you plan to share the document with someone, click the 'Share' button in the top right corner. Here, add the email addresses of the people you want to give view, edit, or comment rights to, or change the sharing from restricted to free (this will allow everyone with the link to open the file).
Now, your Google Docs document is ready to use. You can edit it yourself, share it with other users for collaboration, or use it for writing a group project, making a shopping list, etc. To quickly invite other people to view the file, you need to create QR code for Google Doc.
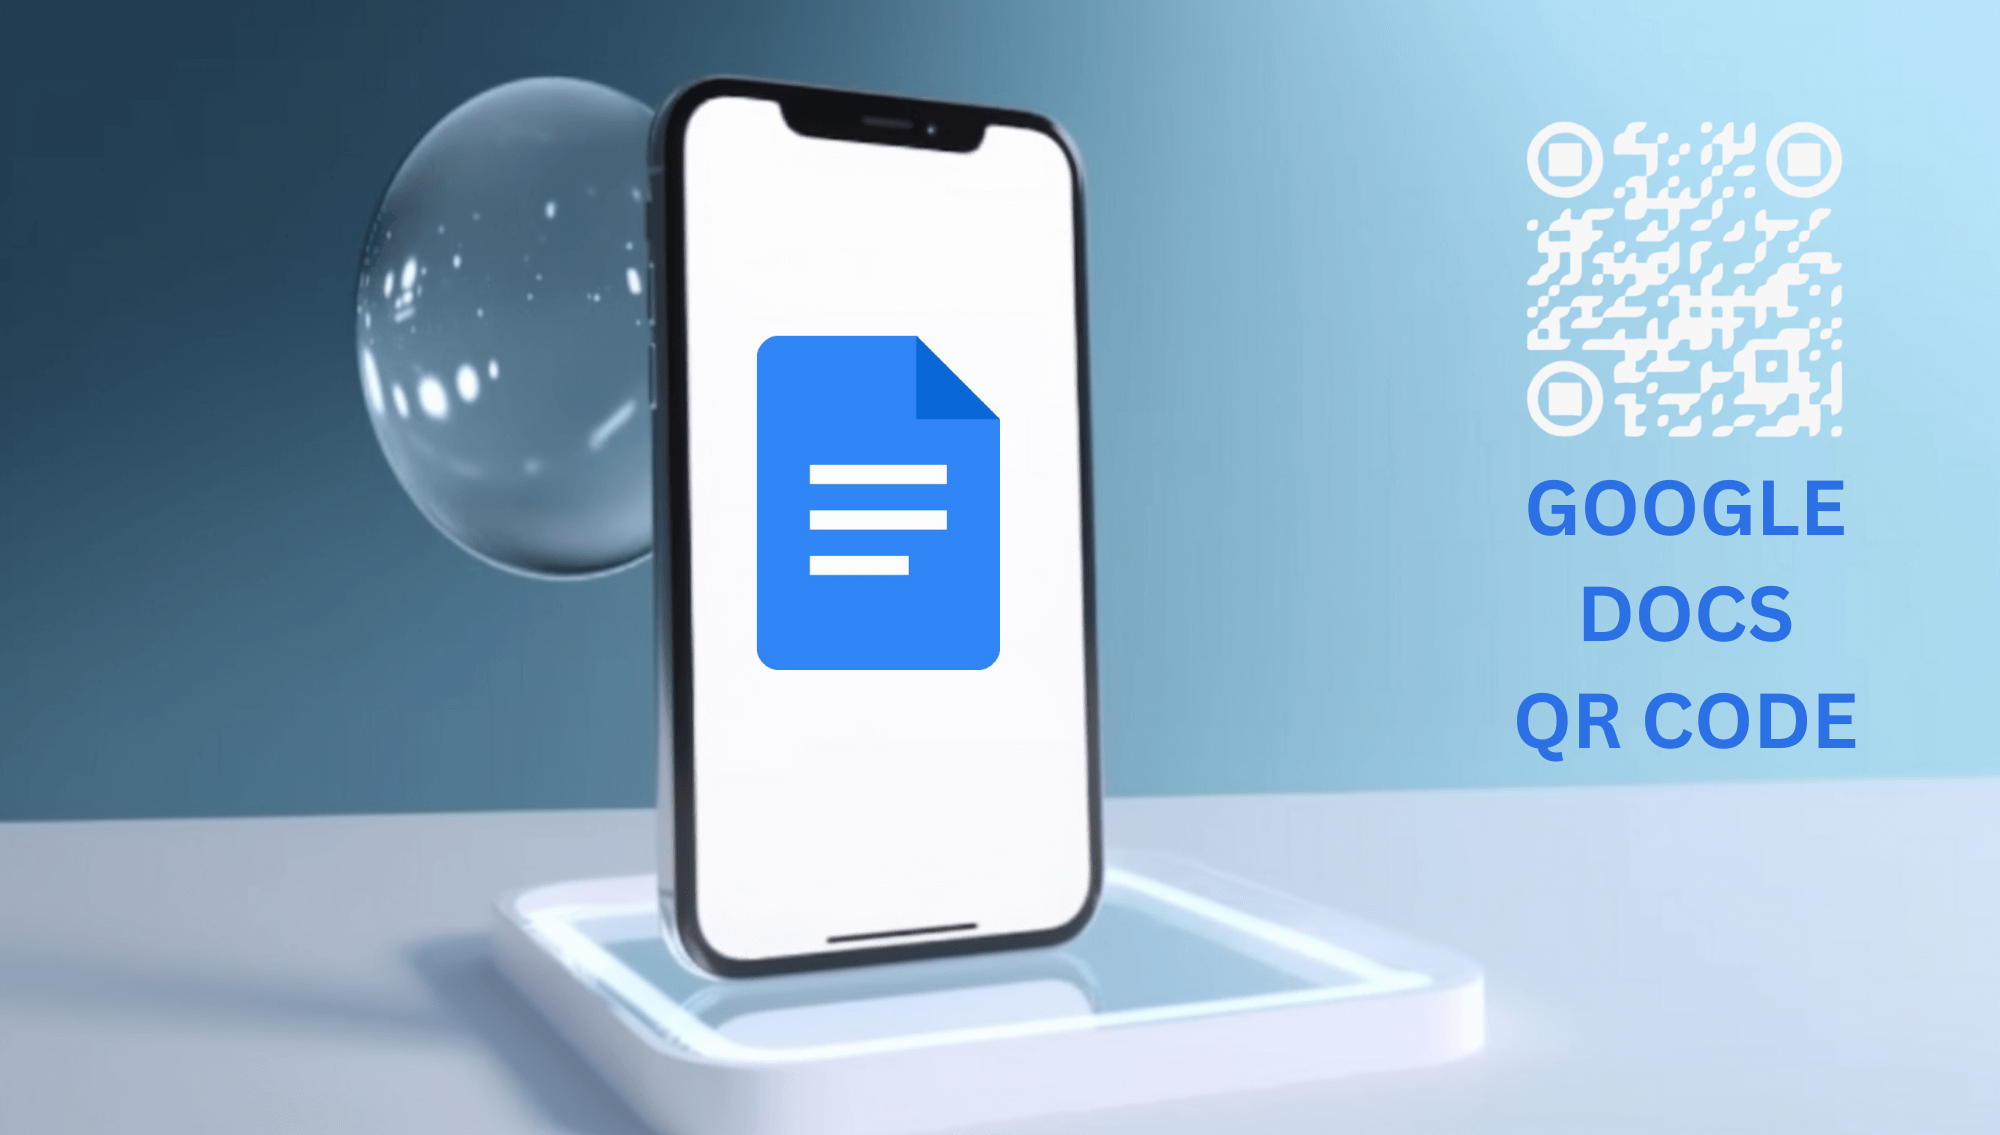
Quickly convert the Google Docs link to a QR code
 Once you've created and configured the settings of your Google Drive document, you'll have its unique identifier handy — the link. Google services often generate lengthy web addresses that are highly inconvenient to type manually. In this case, a free QR code generator can solve this issue: it makes it very easy to convert a link to a QR code for Google Drive Document.
To begin, navigate to the main page of the GET-QR service and select the 'Google Docs' code type. Here, you can input your document link, adjust settings as needed, and get a unique Google Docs QR code. Upon scanning, users will instantly access your Google Docs file, enabling them to view, comment, edit, and save it to their Google Drive.
The QR code for Google Doc serves as a simple and effective tool for all users. Use our QR code generator for Google Docs and enhance your productivity while working on Google Docs!